Introduction
Aims
In this part of the activity we will:
- Install the flat turbine blades and check the voltage generated by them
- Install the airfoil turbine blades and check the voltage generated by them
- Draw conclusions
Learning outcomes
| Learning outcome | |
|---|---|
| Experimentation | Comparing performance |
| Measurement | Using measuring and monitoring to draw conclusions |
Preperation
Equipment required
| Equipment item | Quantity |
|---|---|
| Custom wind turbine kit (you just assembled it!) | 1 |
| Extra micro:bit | 1 |
| 3D printed airfoil wind turbine blades | 3 |
Tools required
| Tool | Quantity |
|---|---|
| Desk fan | 1 |
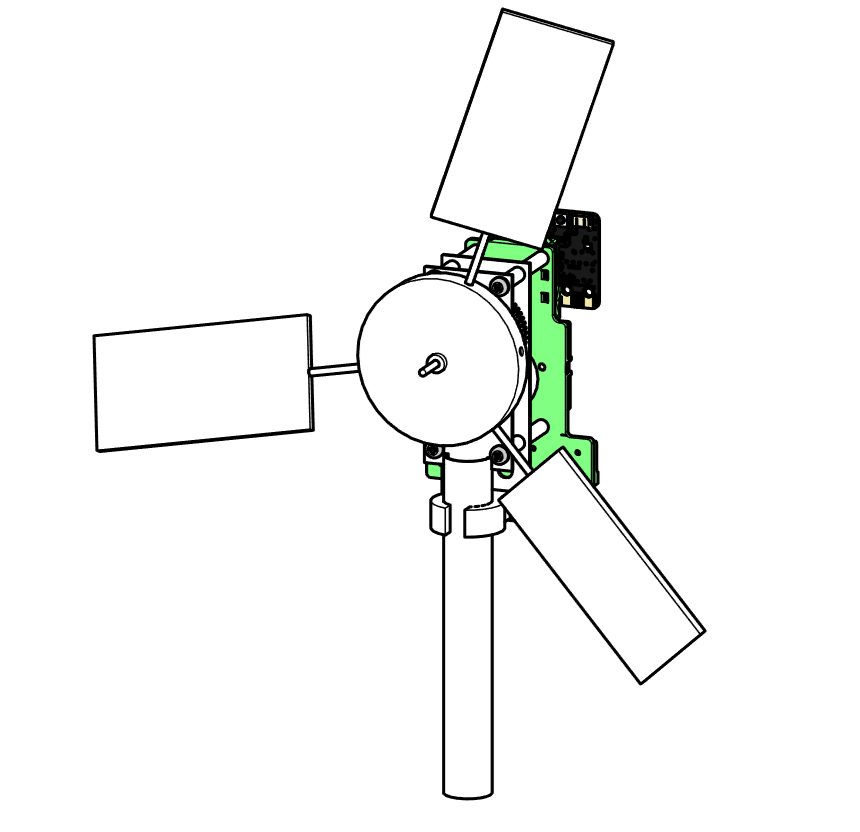
Assemble the full wind turbine
Assemble the full wind turbine (as per the image below)
Test the wind turbine
Install the flat blades
Place the wind turbine in front of the fan
- Record the voltage generated
- Ajust the angle of the blades
- Record the voltage generated
- … repeat
Install the airfoil blades
- Record the voltage generated
- Ajust the angle of the blades
- Record the voltage generated
- … repeat
Discuss your conclusions with a mentor
- Show a mentor your results and discuss your conclusions
End
🎉 Congratulations! you have finished the main part of this activity! Well done, it’s a big achievement!
💯 If you still have time there’s still more to explore! Talk to a mentor about extension activities
