Introduction
Aims
In this part of the activity we will:
- Discuss real world wind turbine blades
- Study the basics of airfoils
- Design our own airfoil profile
- Learn how to use a basic CAD program (Tinkercad)
- Create our own wind turbine blade and CAD and 3D print it
Learning outcomes
| Learning outcome | |
|---|---|
| Airfoils | How airfoils generate lift (at a high level) |
| Airfoil shapes | How different airfoil shapes are used for different things |
| Design selection | Choose our own airfoil shape |
| CAD | What is Computer Aided Design, and basic use |
| 3D printing | Create our own airfoil to be 3D printed |
Preperation
Equipment required
| Equipment item | Quantity |
|---|---|
| Laptop/PC | 1 |
| Mouse | 1 |
All about airfoils
Wind turbine blades in the real world
Questions (let’s discuss together)
- What do wind turbine blades look like in the real world? What shape are they?
- How many blades are normally on a turbine?
- What do wind turbine blades and airplane wings have in common?
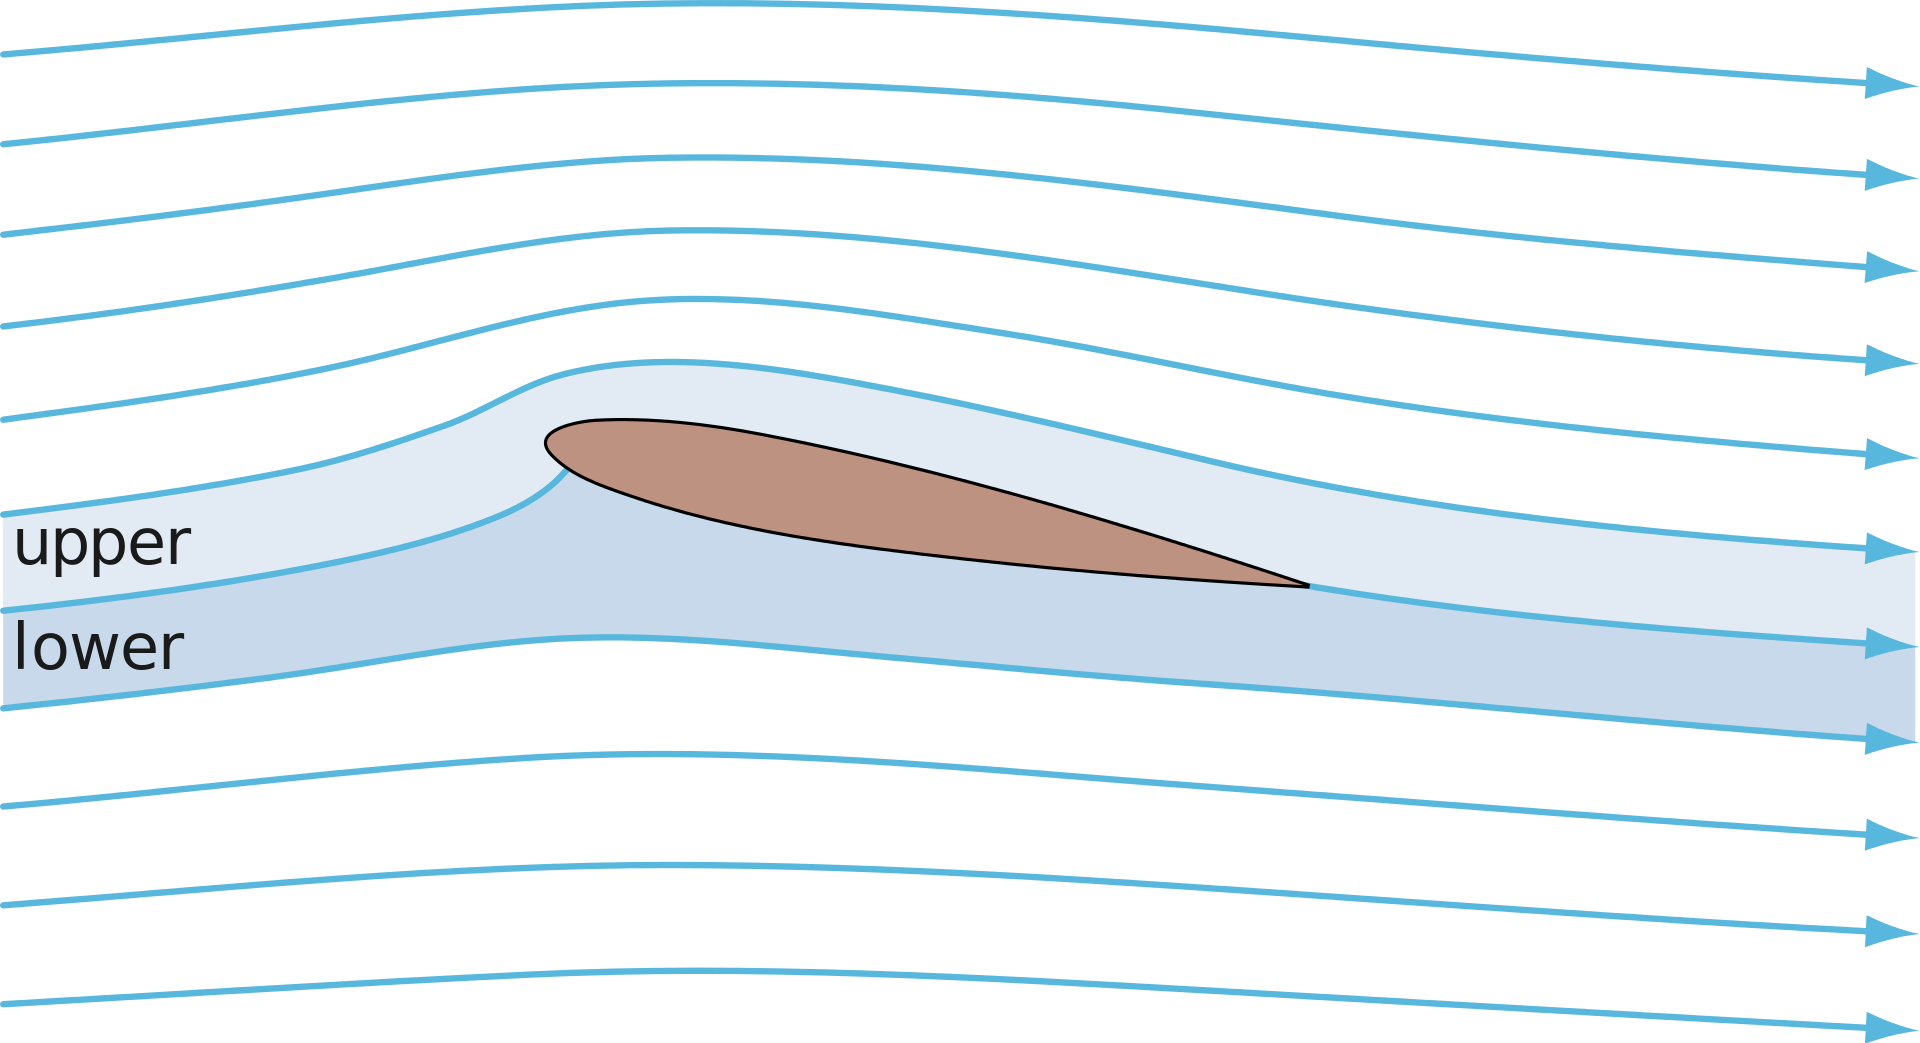
The basic principles of airfoils
💁 The aim of this section is to begin to get a feel for how airfoils work.
We’re going to discuss this subject together in class.
We’ll use these videos as educational aids. And if you’re reading this outside a workshop, well, these videos do a great job of explaining the topic.
Bernouli’s principle
We want to understand Bernouli’s principle to understand about airfoils. This video does a great job of showing how it works.
Airfoil basics
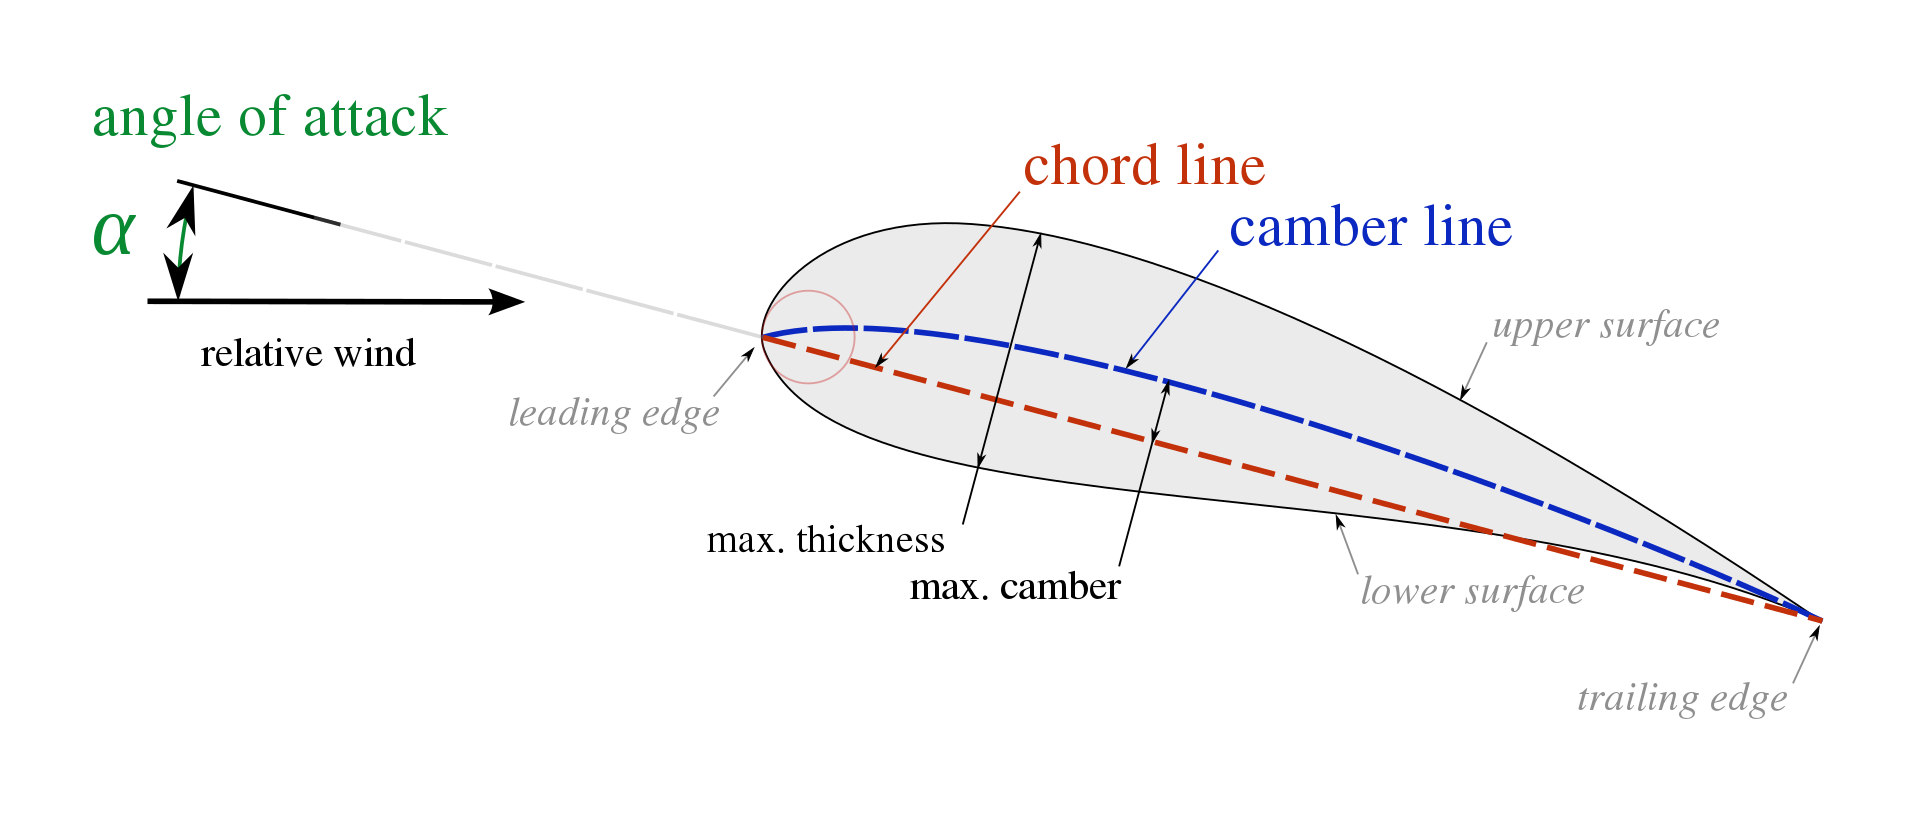
This video does a good job of explaing the principles of airfoils and how they generate lift.
Simulating and understanding the airfoil
We can use this Nasa simulator to understand better how changing the shape and angle of attack affects lift.
Designing our own airfoil profile
🛩️ The aim of this section is to choose an airfoil design for our wind turbine. It doesn’t need to be perfect. And we’ll do it together.
Look at what shapes work well for wind turbines
We’re not going to get too technical in this sectiion. Don’t worry about trying to understand everything there is to know about airfoils, this isn’t a university course.
We’re just going to (a) look at some different airfoil profiles that could be used for turbine blades and (b) choose one. We’ll discuss it together.
You can use these resources to do that:
Draw our airfoil on paper
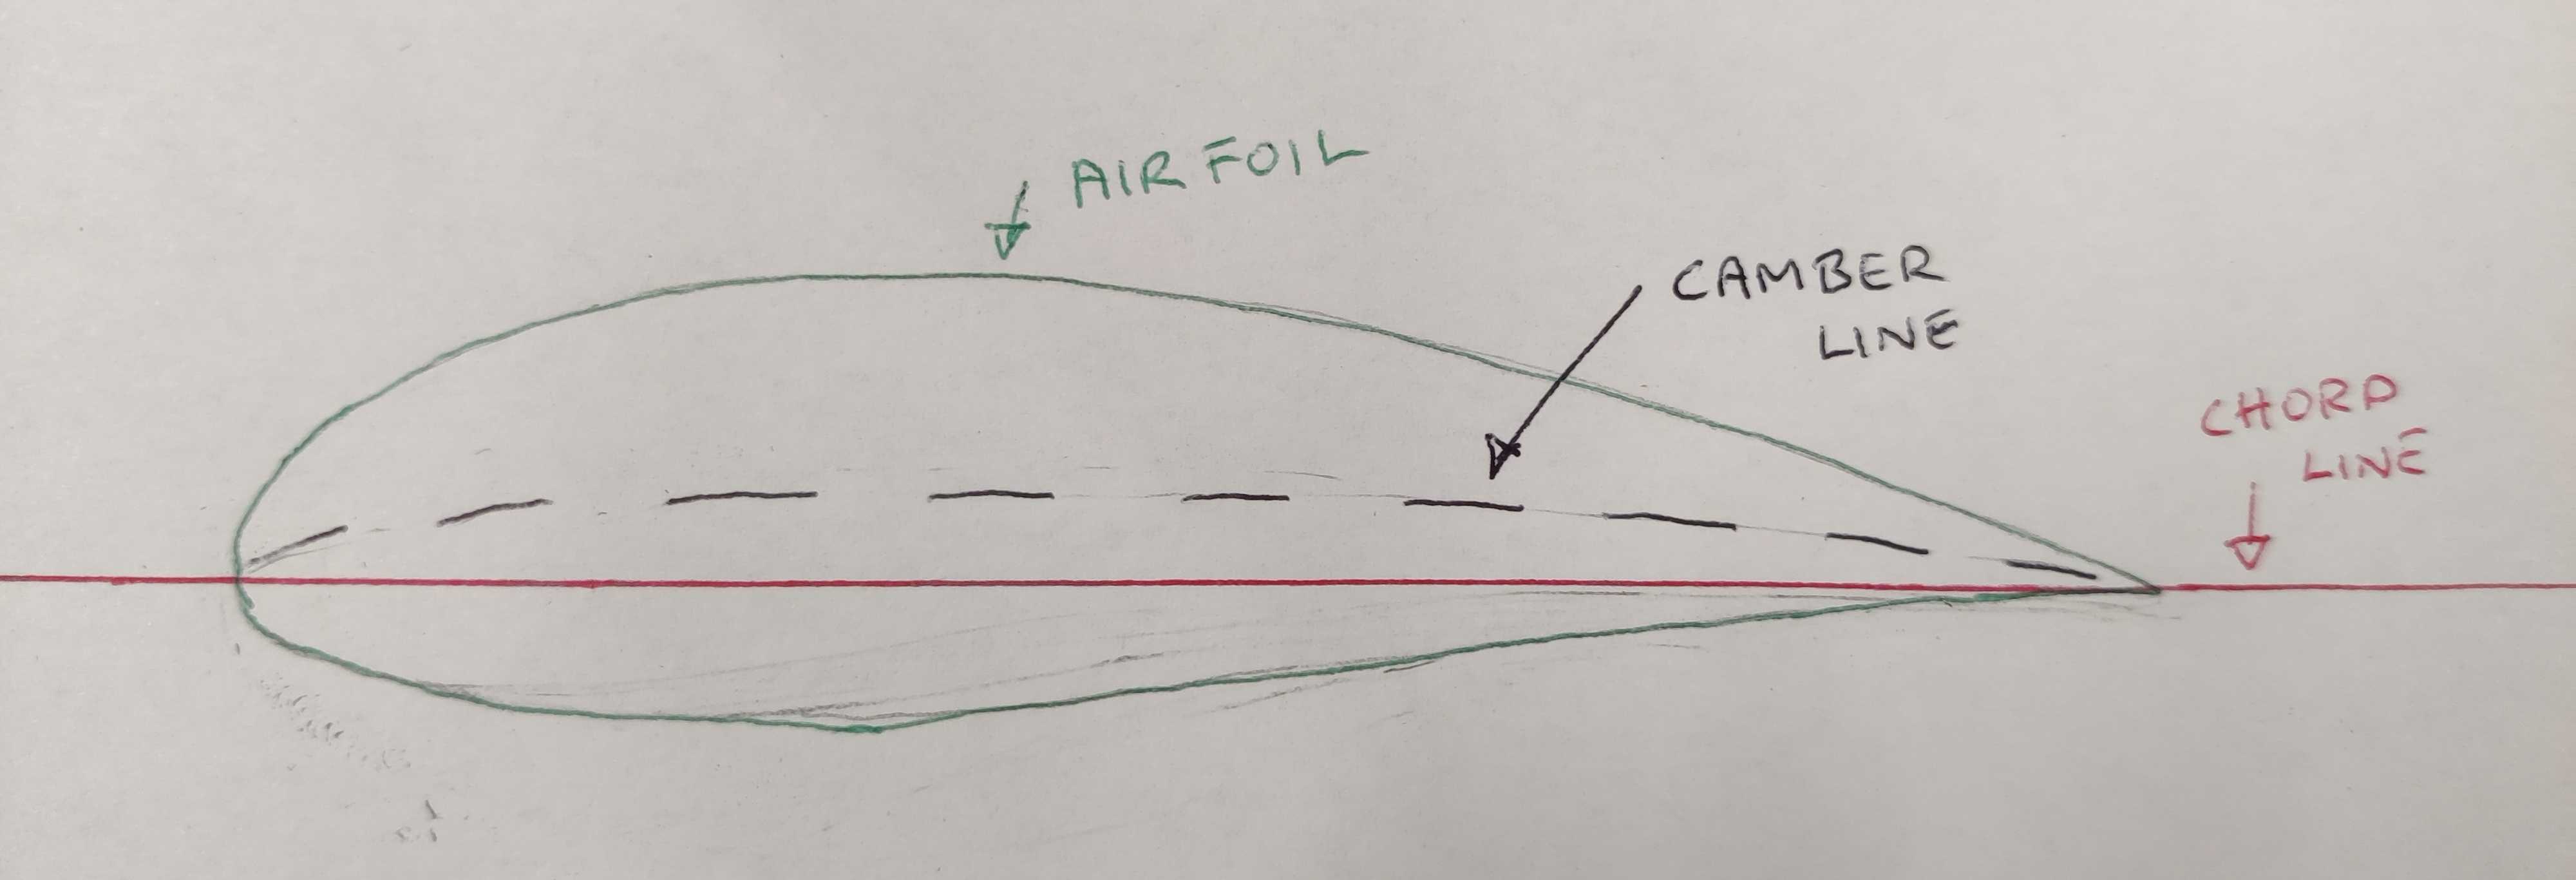
The next step is to decide on a shape and draw our airfoil on paper.
You should end up with something like the image below (but please do pick your own shape!) Once you have a shape check it with a mentor. The mentor will check it against the checklist below.
☑️ Checklist (only open this once you’ve completed your design)
- I have an airfoil shaped airfoil?
- My airfoil is non-symetrical?
- My camber line runs above my chord line?
- My airfoil is not too thick?
- My airfoil is not too thin?

Making our airfoil
Learn how to use a basic CAD program (Tinkercad)
We’ll be using Tinkercad to generate our airfoil ready to be 3D printed.
Sign up
Tinkercad is a great free online app. To use it you’ll neeed to sign up for an account.
👉🏾 Sign up instructions
- Follow this link to sign up.
- Select On your own
- Follow the sign up instructions
Tinkercad basics
We’re going to go over together the basics of tinkercad in a live classroom If you’re reading this outside a workshop, this video does a great job of explaining the topic.
☑️ Things we’ll cover
- Create a new project
- Drop shapes
- Drop text
- Edit objects
- Snapping and rulers
- The workplane
- Lock and hide object
- Complex shapes and holdes
- Notes
- 3D view cube
- Save and render
Create our own wind turbine blade and CAD and 3D print it
The next step is to create an airfoil blade for your wind turbine, in Tinkercad, based on the profile you drew on paper.
We’re going to list some requiements that you must meet, as well as providing a video that shows how to achieve this.
In class, if you need help, don’t hesitate to ask a mentor!
Requirements
| Requirement | Value |
|---|---|
| Airfoil maximum chord length | 40 mm |
| Airfoil maximum width | 10 mm |
| Airfoil height | 50 mm |
| Diameter of hole for metal rod | 3.4 mm |
| Depth of hole for metal rod | 25 mm |
| Height of your initials on top | 0.4 mm |
Key steps and video
The steps that we need to go through are:
- Recreate our airfoil shape in CAD
- Correctly dimension it (maximum 40mm x 10mm)
- Turn it into a 3D shape (with 50 mm height)
- Add a hole for the metal rod (with diameter of 3.3 mm)
- Add you intials (of your name) to the top of the shape (with height of 0.4mm)
- Export it in .stl format ready to be 3D printed
Once you’ve completed these key steps
- Check your design with a mentor
- Share you .stl file with them on a usb key
🎉 3D printing
We’re done! .. the next step is to 3D print your wind turbine blades. We’ll print 3 of them. Your mentor will help you with that.

