Introduction
🎉 If you already know about the microbit - you can skip this activity. If not read on!
Overview video
Let’s get familiar
Go to Microsoft MakeCode
- Plug your microbit into the computer using the supplied usb lead
- Browse to the website https://makecode.microbit.org/
- Click on New Project
- Name it ‘helloWorld’ or something else you choose
Tour of Microsoft MakeCode
- Simulator - on the left side of the screen, you will see a virtual micro:bit that will show what your program will look like running on a micro:bit. This is helpful for debugging, and instant feedback on program execution.
- Toolbox - in the middle of the screen, there are a number of different categories, each containing a number of blocks that can be dragged into the programming workspace on the right.
- Workspace - on the right side of the screen is the Programming Workspace where you will create your program. Programs are constructed by snapping blocks together in this area.
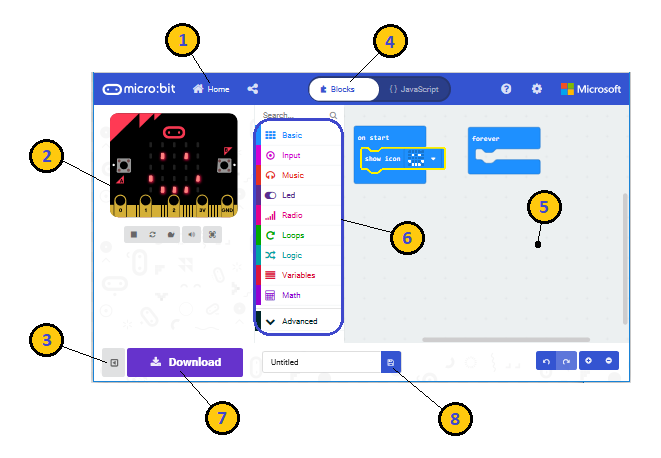
The features highlighted in the picture are:
- Go to the Home Screen to start a new project or open an existing project
- Simulator shows what your program will look like when running on a micro:bit
- Hide or Show the simulator pane
- Program in either Blocks or JavaScript
- Programming Workspace where you will build you program
- Blocks Toolbox
- Download your program to the micro:bit
- Name your project and Save it on your computer
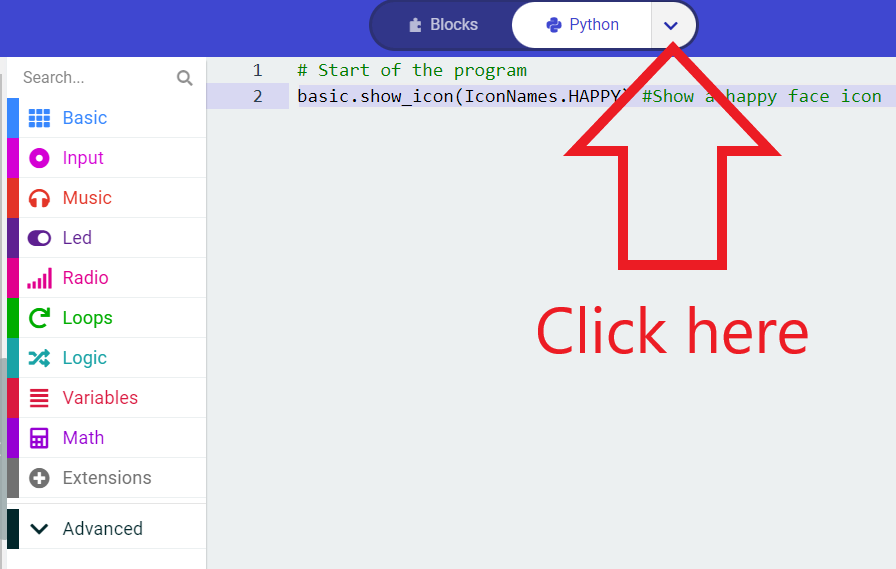
How to change the programming language (python/blocks)
On all of the following activities you can choose to use python or MakeCode blocks for programming the micro:bit.
Choose whatever you feel is the right language for your level
How to download your code to your micro:bit
There are two options (explained on this page). If you don’t know - just ask a mentor